How to Cook a Brisket on a Charcoal Grill? Mastering the Art of Smoky
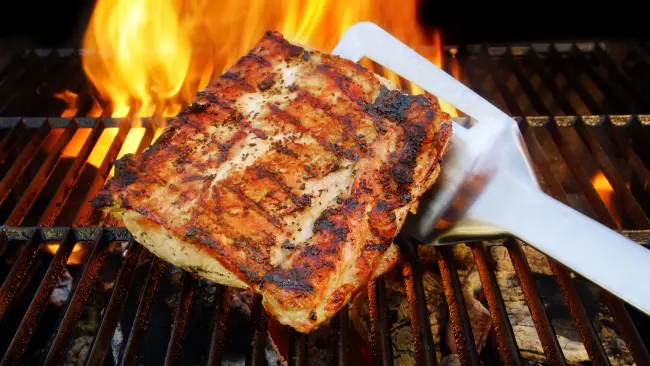
There’s something primal and deeply satisfying about cooking a brisket on a charcoal grill. The slow dance of smoke and fire, the tantalizing aroma that wafts through the neighborhood, and the anticipation of that first tender, juicy bite all combine to create an experience that’s as much about the journey as it is about the destination.
Whether you’re a weekend warrior or an aspiring pitmaster, mastering the art of charcoal-grilled brisket is a rite of passage in the world of barbecue. In this guide, we’ll walk you through every step of the process, from selecting the perfect cut to slicing into your smoky masterpiece. So grab your tongs, fire up the grill, and let’s embark on this mouthwatering adventure together.
Choosing The Perfect Brisket
The foundation of a great brisket starts at the butcher’s counter. Look for a whole packer brisket, which includes both the flat and point cuts, weighing between 12-14 pounds. Prime grade is ideal, but Choice can also yield excellent results.
Pay attention to the fat cap – you want it to be about 1/4 inch thick, evenly distributed across the surface. A good brisket should feel pliable when you bend it, indicating tenderness. Don’t shy away from asking your butcher for advice; they can often point you towards the best cuts available.
Remember, patience is key when selecting your brisket. Take your time to find a piece with good marbling, as this intramuscular fat will keep your meat moist and flavorful during the long cooking process.
Essential Equipment For Charcoal Grilling
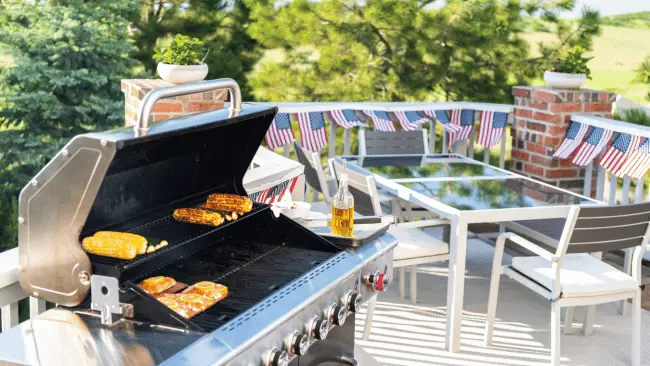
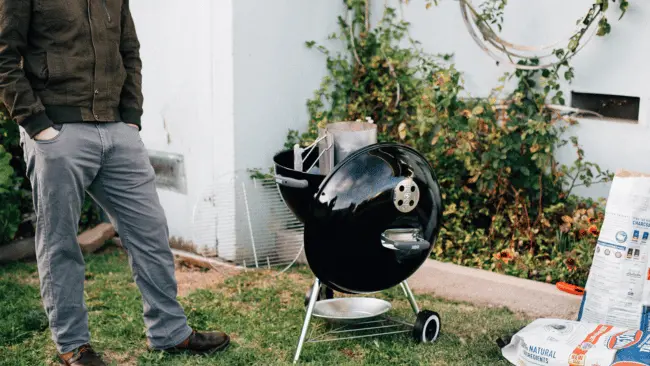
To embark on your brisket-grilling journey, you’ll need the right tools. First and foremost, a quality charcoal grill is essential. Look for one with good insulation and adjustable vents for temperature control. A water pan is crucial for maintaining moisture during the long cook.
Key equipment includes
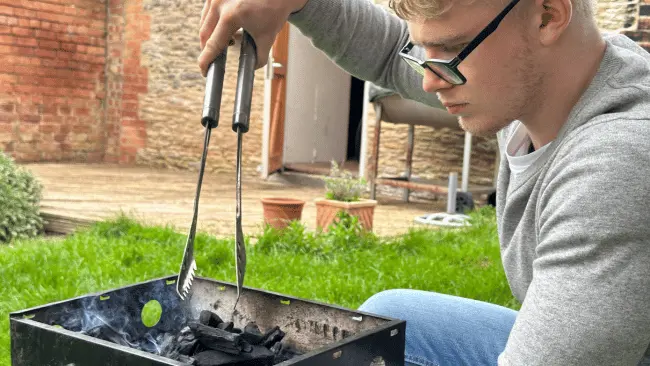
- Long-handled tongs for handling hot coals
- A chimney starter for lighting charcoal
- Heavy-duty aluminum foil
- A reliable meat thermometer (preferably digital)
- Heat-resistant gloves
- A large cutting board and sharp knife for slicing
Don’t forget about fuel. Hardwood lump charcoal is preferred for its clean burn and robust flavor. Add some wood chunks like oak, hickory, or mesquite for that authentic smoky taste.
Lastly, invest in a good spray bottle for spritzing and a large cooler for resting the brisket. With these tools at your disposal, you’ll be well-equipped to tackle the challenge of charcoal-grilled brisket.
Preparing Your Brisket
Proper preparation is crucial for achieving brisket perfection. This process involves two main steps: trimming and seasoning.
Trimming
Start with your brisket at room temperature. Using a sharp knife, trim the fat cap down to about 1/4 inch thickness. This provides enough fat to keep the meat moist without impeding smoke penetration. Remove any hard chunks of fat and silver skin, as these won’t render during cooking. Pay special attention to the point end, trimming excess fat between the point and flat. Remember, some fat is good – it’s all about finding the right balance.
Seasoning
Keep it simple – salt and coarse black pepper are the cornerstones of traditional Texas-style brisket. Mix equal parts of each to create your rub. For a 12-14 pound brisket, you’ll need about 1/2 cup of this mixture. Some pitmasters add garlic powder or paprika for extra flavor, but it’s not necessary.
Apply the rub generously, massaging it into every nook and cranny of the meat. Don’t be shy – the brisket can handle it. Let the seasoned brisket sit at room temperature for about an hour before grilling. This allows the rub to adhere and start drawing out some moisture, which will help form a good bark during cooking.
Setting Up Your Charcoal Grill for Success
Proper grill setup is crucial for achieving that perfect, slow-cooked brisket. Here’s how to prepare your charcoal grill for the long haul:
- Clean your grill thoroughly to ensure even airflow and prevent any off-flavors.
- Set up for indirect heat. If your grill has a built-in water pan, fill it about halfway. If not, place a disposable aluminum pan filled with water on one side of the charcoal grate.
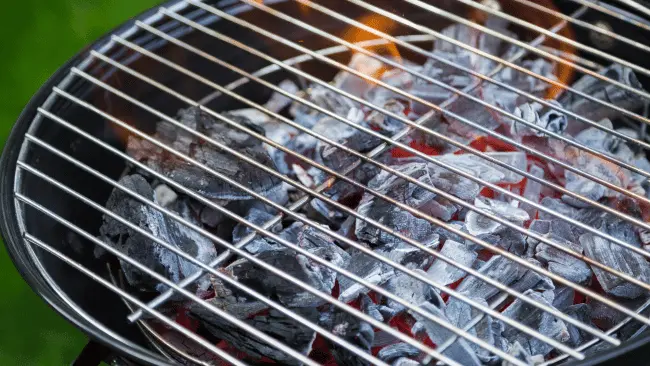
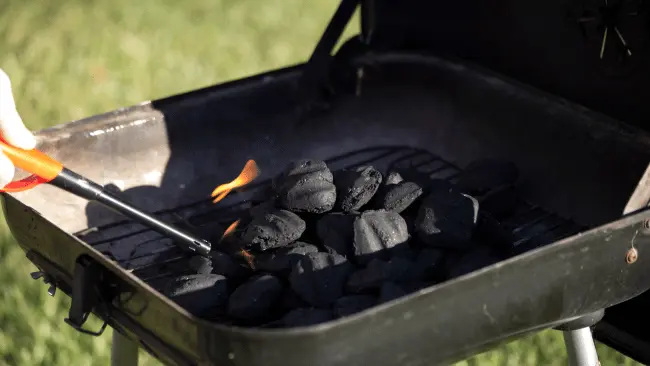
- Light your charcoal in a chimney starter. Once the coals are ashed over, carefully pour them on the opposite side of the water pan.
- Add a few wood chunks on top of the hot coals for smoke flavor. Don’t overdo it – 2-3 chunks are sufficient to start.
- Place the cooking grate on top and close the lid. Adjust the vents to stabilize the temperature around 225°F (107°C). This may take some time and practice.
- Once the temperature is stable, place a remote thermometer probe at grate level to monitor the cooking temperature throughout the process.
- Let the grill “settle” for about 15-20 minutes before adding the brisket. This allows the smoke to clean up and the cooking environment to stabilize.
Remember, patience is key. Taking the time to properly set up your grill will pay dividends in the final product.
The Low and Slow Cooking Process
The key to a perfect brisket lies in the low and slow cooking method. Here’s how to navigate this crucial phase:
- Place your seasoned brisket on the grill grate, fat side up, opposite the hot coals. Close the lid immediately to maintain temperature.
- Aim to keep your grill temperature steady at 225°F-250°F (107°C-121°C). This low temperature allows the tough connective tissues to break down slowly, resulting in tender meat.
- Resist the urge to open the lid frequently. Every peek can cost you 15-20 minutes of cooking time. Trust your thermometer and your nose.
- After about 3 hours, start spritzing the brisket every hour with a mixture of apple cider vinegar and water. This helps keep the surface moist and promotes bark formation.
- Add more charcoal and wood chunks as needed to maintain temperature and smoke. A good rule of thumb is to add a few coals every hour or so.
- The total cooking time will vary, but expect about 1 to 1.5 hours per pound of meat. For a 12-14 pound brisket, you’re looking at a 12-18 hour cook.
- Use the probe test to check for doneness. When your thermometer slides into the meat with little resistance (like butter), you’re on the right track.
Remember, every brisket is unique. Be prepared to adapt and stay patient throughout this long, rewarding process.
Mastering the Art of Temperature Control
Temperature control is the linchpin of successful brisket grilling. It’s a skill that requires practice and attention to detail. Here’s how to master it:
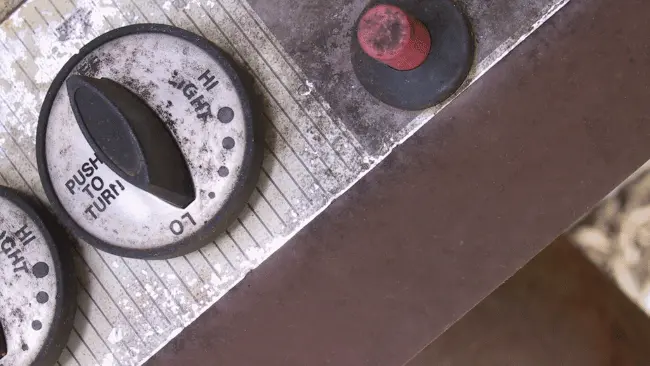
- Understand your grill’s vents: The bottom vents control oxygen intake, while the top vent releases heat and smoke. More open vents mean higher temperatures.
- Make small adjustments: When changing vent positions, do so in small increments. Wait 15-20 minutes to see the effect before making further changes.
- Use the “Minion Method”: This technique involves placing a small number of lit coals on top of unlit ones. As the lit coals burn, they gradually ignite the others, providing a steady heat source over time.
- Monitor internal temperature: Use a dual-probe thermometer to track both the grill temperature and the meat’s internal temperature simultaneously.
- Navigate the stall: Around 150°F-170°F (65°C-77°C), the brisket’s internal temperature may plateau for several hours. This is normal. Maintain your grill temperature and be patient.
- Adjust for weather: Wind, rain, and ambient temperature can all affect your grill’s performance. Be prepared to make more frequent adjustments on challenging days.
- Create a heat sink: If you’re struggling to maintain low temperatures, try placing a few bricks or a large cast-iron skillet in the grill. These will absorb and radiate heat, helping to stabilize the temperature.
Remember, becoming a master of temperature control takes time. Each cook is an opportunity to learn and improve your skills.
The Crucial Wrap Stage
The wrap stage, often called the “Texas Crutch,” is a pivotal moment in your brisket journey. Here’s how to navigate this critical phase:
- Timing: Consider wrapping when the brisket’s internal temperature reaches about 165°F-170°F (74°C-77°C), or when you’re satisfied with the bark formation.
- Materials: Use heavy-duty aluminum foil or butcher paper. Butcher paper allows more breathability, which can help maintain a crispier bark.
- Preparation: Lay out two overlapping sheets of your wrapping material, large enough to fully enclose the brisket.
- The wrap: Place the brisket in the center of the wrapping material. If using foil, you can add a small amount of beef broth or apple juice for extra moisture. For butcher paper, the brisket’s own juices are usually sufficient.
- Sealing: Wrap the brisket tightly, ensuring there are no gaps where steam can escape. Be careful not to puncture the wrapping.
- Return to grill: Place the wrapped brisket back on the grill, maintaining the same cooking temperature.
- Continue cooking: Cook until the brisket reaches an internal temperature of 200°F-205°F (93°C-96°C), or until it passes the “probe test” – the thermometer should slide in with little resistance.
- Monitor closely: After wrapping, the internal temperature may rise more quickly, so check it more frequently to avoid overcooking.
The wrap stage helps push through the temperature stall and can significantly reduce overall cooking time. It’s a technique that requires practice to perfect, but can elevate your brisket game substantially.
Resting and Slicing Your Brisket
The final steps of resting and slicing are crucial for ensuring your brisket reaches its full potential. Here’s how to finish strong:
Resting
- Once your brisket reaches the target temperature, remove it from the grill, keeping it wrapped.
- Place the wrapped brisket in a clean, empty cooler.
- Cover with towels to insulate and let it rest for at least 1-2 hours. For larger briskets, you can rest up to 4 hours.
- This resting period allows juices to redistribute, making for a moister, more tender final product.
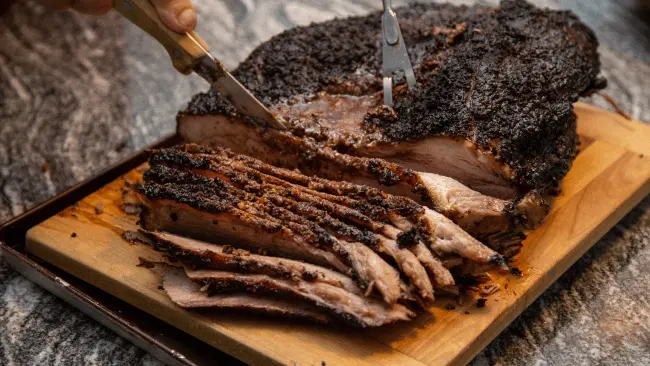
Slicing
- After resting, unwrap your brisket on a large cutting board.
- Look for the grain of the meat – it’ll be most visible on the flat end.
- Using a sharp knife, slice against the grain. Aim for slices about pencil-thickness (1/4 inch).
- When you reach the point end, you may need to rotate the brisket 90 degrees, as the grain direction often changes.
- The point end is typically fattier and may crumble more easily. Some prefer to chop this section for burnt ends.
Remember, a properly cooked brisket should be moist with a slight tug when you bite into it, but not fall apart completely. The bark should be dark and flavorful, not burnt.
Tips for Troubleshooting Common Issues
Even experienced pitmasters encounter challenges. Here are some common issues and how to address them:
Dry Brisket
- Cause: Overcooked or cooked at too high a temperature.
- Solution: Monitor internal temperature closely and wrap earlier next time. Consider injecting the brisket with beef broth before cooking.
Tough Brisket:
- Cause: Undercooked or not rested properly.
- Solution: Cook until the internal temperature reaches 200°F-205°F and ensure adequate resting time.
Bark Too Dark or Burnt
- Cause: Temperature too high or too much smoke.
- Solution: Lower grill temperature and use less wood for smoke. Consider wrapping earlier.
Stall Lasting Too Long
- Cause: Normal part of the process, but can be frustrating.
- Solution: Be patient or consider wrapping to push through the stall faster.
Uneven Cooking
- Cause: Hot spots in the grill or uneven brisket thickness.
- Solution: Rotate the brisket periodically and ensure even trimming before cooking.
Temperature Fluctuations
- Cause: Poor fire management or external factors like weather.
- Solution: Make smaller, more frequent adjustments to vents and fuel.
Lacking Smoke Flavor
- Cause: Not enough wood or wrong type of wood used.
- Solution: Experiment with different wood types and amounts. Remember, the meat absorbs most smoke flavor in the first few hours.
Remember, each brisket is unique, and perfecting your technique takes practice. Don’t get discouraged – even “imperfect” brisket is often delicious!
Serving Suggestions and Sides
A perfectly cooked brisket deserves to be the star of the show, but the right accompaniments can elevate your meal to legendary status. Here are some serving suggestions and side dish ideas to complement your charcoal-grilled brisket:
Serving Suggestions
- Sliced on a platter: Arrange slices on a large platter, alternating between the fattier point end and the leaner flat.
- Sandwich style: Pile slices onto a soft bun with pickles and onions for a classic Texas-style sandwich.
- Tacos: Chop the brisket and serve in warm tortillas with fresh salsa and avocado.
Classic Sides
- Coleslaw: The creamy, crunchy texture pairs perfectly with rich brisket.
- Baked beans: Sweet and savory, these are a BBQ staple.
- Potato salad: Choose between classic mayo-based or German-style with vinegar dressing.
- Corn on the cob: Grilled alongside your brisket for a smoky flavor.
Unique Sides
- Jalapeño poppers: For a spicy kick that complements the smoky meat.
- Grilled vegetables: Zucchini, bell peppers, and onions add color and nutrition.
- Mac and cheese: A crowd-pleaser that pairs well with the savory brisket.
Sauces
While many purists enjoy brisket without sauce, offering options can please all palates:
- Classic BBQ sauce: For those who like it sweet and tangy.
- Spicy chipotle sauce: For heat lovers.
- Alabama white sauce: A tangy, mayo-based option that’s great with brisket.
Beverages
- Ice-cold beer: A light lager or amber ale works well.
- Sweet tea: A Southern classic that cuts through the richness.
- Bold red wine: For those who prefer wine, a Zinfandel or Syrah can stand up to the strong flavors.
Remember, the goal is to complement, not overpower, your perfectly smoked brisket. Let your guests mix and match to find their perfect combination.
Conclusion: Embracing the Journey of Brisket Mastery
Mastering the art of charcoal-grilled brisket is a journey that combines science, intuition, and a healthy dose of patience. As you’ve seen, it’s a process that demands attention to detail at every stage – from selecting the perfect cut to achieving the ideal bark, from maintaining consistent temperature to knowing when to wrap and rest.
Remember that each brisket you cook is an opportunity to learn and refine your technique. Don’t be discouraged by initial setbacks; even the most renowned pitmasters have faced their share of challenges. Embrace the process, take notes, and adjust your approach with each cook.
The beauty of brisket lies not just in its rich, smoky flavor and tender texture, but in the community it creates. Gathering friends and family around a table to share in the fruits of your labor is one of the most rewarding aspects of this culinary adventure.
As you continue on your path to brisket mastery, keep experimenting with different woods, rubs, and techniques. Develop your own signature style that reflects your tastes and preferences. Most importantly, enjoy the process – from the early morning fire-lighting ritual to the satisfying moment when you slice into your beautifully smoked creation.
With practice, patience, and passion, you’ll soon find yourself producing brisket that not only satisfies your taste buds but also becomes a source of pride and joy. So fire up that charcoal grill, embrace the low-and-slow philosophy, and let your brisket journey begin.
Happy Grilling!